
RESOURCES
Layer 7 stress testing
L7 tests the application path — TLS, caches, gateways, app servers, and databases — with realistic HTTP(S) traffic.
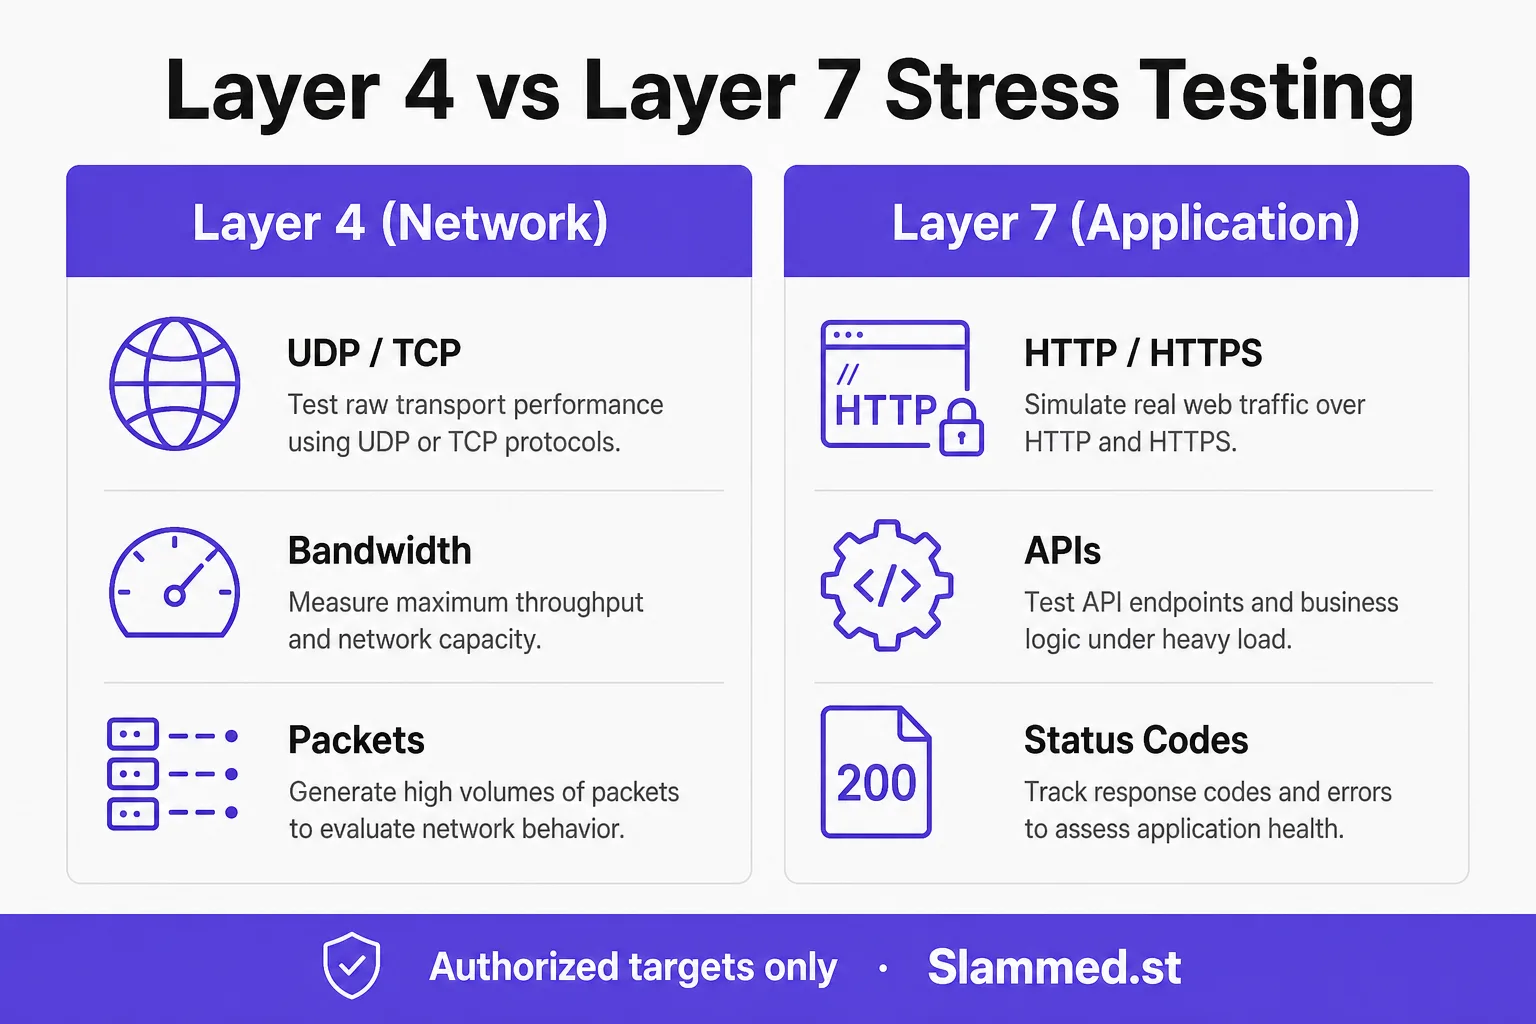
What L7 exercises
Layer 7 stress testing sends application-level traffic. You watch p95/p99 latency, 5xx rates, queue depth, cache hit ratio, and WAF challenge rates on legitimate paths you own.
Use L7 for checkout, auth, search, GraphQL, and other journeys where “more L4 Gbps” would give false confidence.
Practical playbook
- Pick one critical path per run — do not boil the ocean.
- Separate cacheable GETs from write/conversion paths.
- Raise concurrents in steps; record the first cliff.
- Keep cool-down time to spot sticky queues.
Deep dive: Stress test an API before launch and API use case.
Next steps
Browse pricing, authorized load testing, the glossary, or start on verified targets.
Pitfalls unique to application-layer runs
Layer 7 stress testing looks simple until TLS, cookies, redirects, and WAF bots reshape the traffic you thought you sent. Teams often load only the cheapest GET and declare the API “fine,” or they count challenged 403s as success because the connection completed. Another trap is comparing RPS across dissimilar payloads — a 200-byte JSON read and a multipart upload are not the same capacity story.
Keep one hypothesis per run: auth token mint, search query, or checkout write. Document expected status codes and which responses count as errors before you open the Hub. Definitions live in the glossary under RPS, latency, and abort criteria.
A practical L7 ramp sequence
- Verify the target and confirm the path is in the written authorization window.
- Smoke at low concurrency until Hub latency and origin APM move in the same direction.
- Hold a steady plateau long enough to read p95/p99 — not only a short vanity spike.
- Step concurrents upward; stop at the first cliff (error budget, latency gate, or host limit).
- Cool down and re-check whether queues drain or stay sticky.
Compare plans on pricing. For API-shaped journeys see API load testing; for broader policy context use authorized load testing.
Metrics that decide pass or fail
- Completed RPS at the plateau you care about, not the single highest second.
- Latency p95/p99 on the business path — averages hide checkout tails.
- Error rate with a pre-agreed definition (timeouts, 5xx, unexpected 4xx).
- Cache hit ratio and WAF challenge rate when a CDN sits in front.
- Dependency health: DB wait, queue depth, upstream timeout rate.
Hub tip: watch concurrents and RPS together. High open workers with flat RPS usually means saturation or wait — see concurrent vs RPS and the related blog deep dive.
When Layer 7 is the wrong tool
Choose Layer 4 stress testing instead when the hypothesis is NIC saturation, conntrack tables, scrubbing onboarding, or a non-HTTP service. Do not use L7 to “prove bandwidth” — application success under HTTP does not measure raw pipe capacity. Likewise, skip production L7 spikes if you only need a CI contract check; keep scripts for PR gates and reserve Hub L7 for release and campaign rehearsals on verified targets.
Start a free trial to learn the Hub stop path, then size real windows on pricing. Method notes for automation are in docs.
Related
Resources hub · Glossary · Tools matrix · RPS calculator · Useful network tools · Blog · Pricing · Start free